* This scorecard should be used for informational purposes only. Please check with Golf Course Pro Shop to use most updated scorecard for play.
-

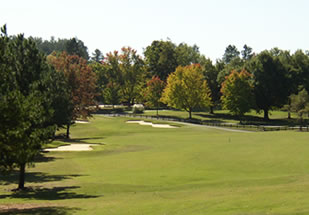
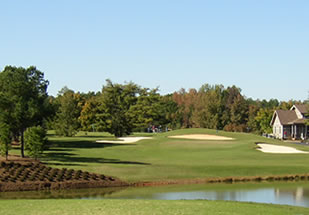
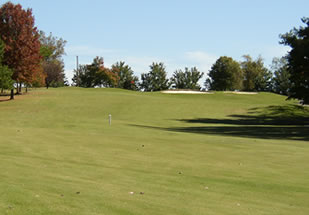
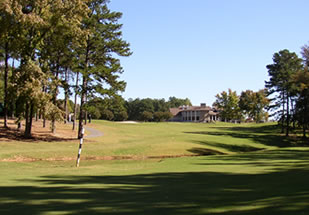
Hole 1, Par 5
The opening hole is a short par five with out of bounds bordering the driving range on the right side, continuing all the way toward the green. A good option is for players to hit their tee shots to the widest part of the fairway just short of the bunker approximately 225 yards from the white tee and 250 from the back tee. Yardage from fairway bunker to the green is around 200 yards. The green slopes from the left and is protected by a single bunker. This hole is a good risk reward tee shot to make birdies and eagles for those challenging the right side. (There is no longer a stream crossing the fairway on this hole).
-
Hole 2, Par 4
This dogleg left requires the correct club selection from the teeing area. Distance is 199 yards from the white tee and 222 yards from the blue tee to the 150 yard post. Play to the right side of the sloping fairway as trees guard the corner. The approach shot is downhill to a green that is severely sloped from left to right. One bunker and hazard borders the right side. Choose one less club on approach shots.
-
Hole 3, Par 4
Hole number three is a short par 4 to which control over distance is key. A tee shot requiring distance of approximately 220-240 will put a player to the top of the hill leaving a short iron shot. There is out of bounds to the left of the cart path and steep gully, bank and fairway sand bunker on the right that must be avoided. A short iron approach is to a green that is sloped from the left with a false right side and collection area just beyond the front bunker.
-
Hole 4, Par 4
This par four has a generous landing area beyond the fairway bunker and Holly Tree skirting the left side of the fairway. The fairway bottlenecks at approximately 270 yards from the teeing area with trees on the left and rough on the right. Players will be left with a short to mid iron up hill approach to a two tiered green that slops back to front and is guarded in the front by bunkers on both sides. Use one more club on approach shots.
-
Hole 5, Par 5
The fifth hole is another short par five where accuracy is a must. Out of bounds runs along the right side of the cart path and continues at the fence next to the putting surface. Favor the left side of the fairway just inside the fairway bunker playing a slight fade. A good play on the second shot is to lay up just short of the fairway bunkers near the green if in doubt of reaching the green in two. The green is sloped from the right and in the front.
-
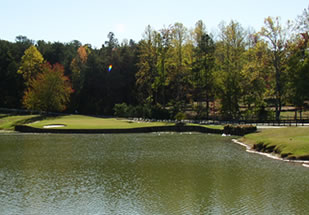
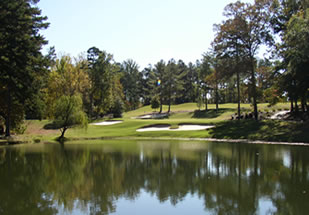
Hole 6, Par 3
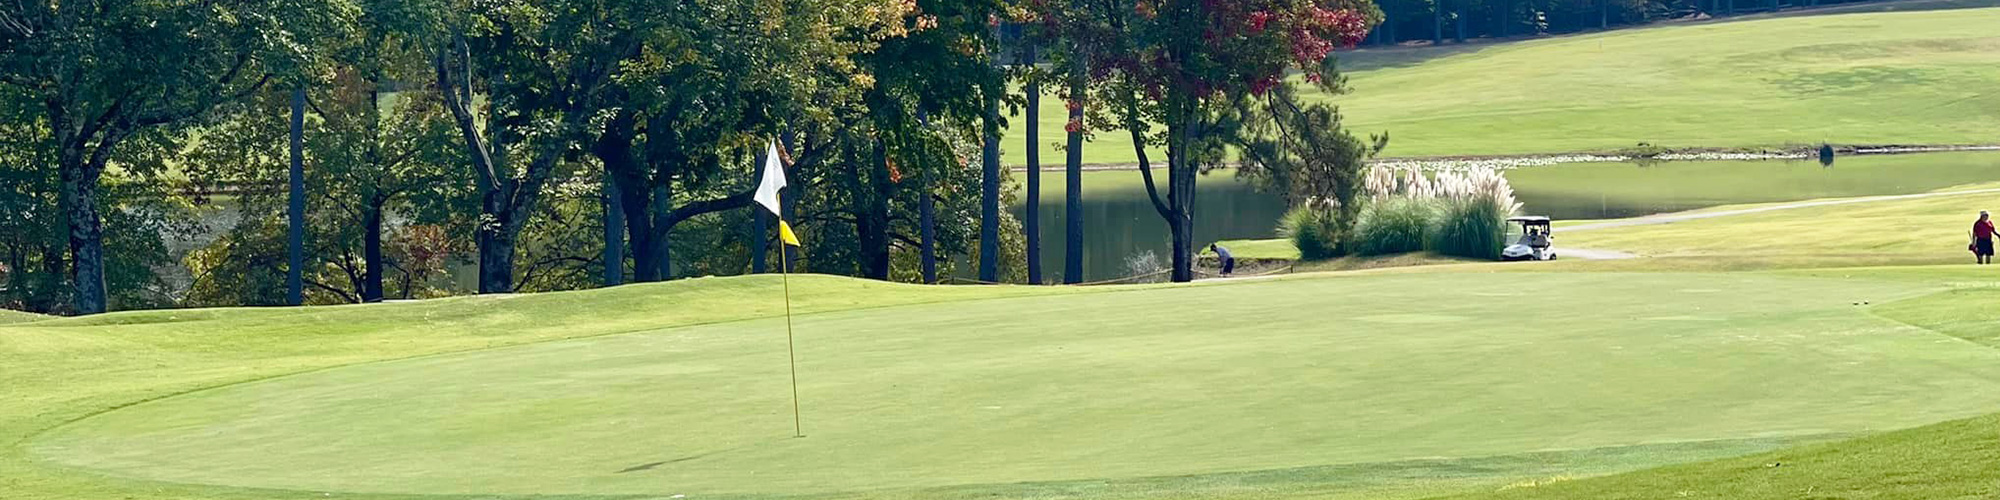
This short par three is Village Greens signature hole. This semi island green is surrounded by water on two sides, three bunkers and out of bounds lurking close at the fence on the right. Club selection is critical to this two tier green which slopes back to front, from the right. Be careful and conservative to a back pin position.
-
Hole 7, Par 4
What it lacks in length makes up for narrowness on the short par four seventh hole. With a fairway only around twenty five to thirty yards wide, out of bounds fence to the right and many pine trees on the left, players can have many options from the teeing area. Players can play conservative hitting a semi blind tee shot 200-225 yards leaving a short iron approach or play aggressive with a driver. The green is very narrow, yet very long in depth and is protected by a single bunker.
-
Hole 8, Par 4
Village Greens number one handicap hole, the eighth hole is a medium to long par four which requires a player to hit a blind tee shot short of a lake approximately 225 yards from the white tee and 260 from the blue tee. Favor the left side of a generous landing area as out of bounds is located on the right. A mid to long iron, uphill approach shot will be required to a false fronted green guarded by a bunker on the right. Choosing one club higher is recommended on approach shots to assure golf balls landing on the proper level.
-
Hole 9, Par 3
The front nine ends with a medium to long par three heading back toward the clubhouse. A tee shot will be over water with out of bounds bordering the entrance drive to the right. The green slopes from left to right and is protected by bunkers on both sides. Most players have more success getting up and down from the right side.
-
Hole 10, Par 4
The back nine starts with a medium length down hill par four. A player should favor the right side as the fairway tilts slightly to the left. A short to mid iron approach will be left usually requiring less club selection. One bunker guards this large green that slopes slightly to the right.
-
Hole 11, Par 3
This uphill par three has a severely sloped two tier green which will test a players putting ability. A mid to long iron approach is required to a green surrounded by three bunkers. Yardage is 179 yards from the back tee. Players are recommended to keep approach shots below the hole as the putting surface slopes to the right and toward the front.
-
Hole 12, Par 4
Village Greens longest par four, a player can let out the shaft on this straight forward hole. The fairway opens up to a generous landing area beyond the mound and single tree guarding the left side of the rough. A medium to long approach shot is required to a large green protected by a bunker and mound. A par is a very good score.
-
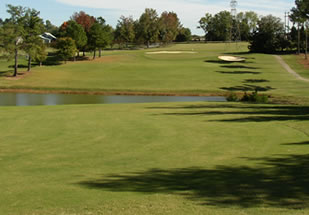
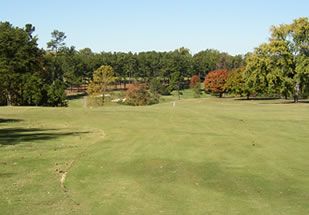
Hole 13, Par 5
Players can take advantage of this medium length, sharp dogleg right par five using the right decisions. Depending on the tees being played, the player must hit a tee shot to the left of the fairway bunker or opt to carry the bunker or trees guarding the corner. It is approximately a 225 yard carry over the fairway bunker from the white tees. Out of bounds is approximately 30 yards to the right of the fairway bunker on the hillside. Players will have anywhere from 215 to 175 yards or less depending on how aggressive a tee shot. An uphill approach shot requiring more club is to a severely sloped left to right green. There is a three club differential from a front and back pin position. Two bunkers and steep bank border the right side of the fringe. Most shots hit on the left side of the green will roll toward the pin. Birdies and eagles can be had.
-

Hole 14, Par 4
The straight forward downhill fourteenth hole has one lonely fairway bunker guarding a generous landing area. The bunker approximately 235 yards from the teeing area can be carried for the longer hitter. Out of bounds is far to the right for a wayward tee shot. The downhill short to middle iron approach is to a reasonably flat green guarded by bunkers on both sides. Use one less club on this approach shot.
-
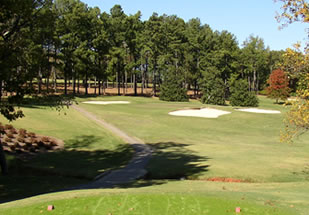
Hole 15, Par 3
This par three is another short, but beautiful hole. A short iron approach is required over water to small green that meanders slightly to the left and is protected by four bunkers. The back tee measure 149 yards to the middle of the green. A steep bank to the right of the green will allow golf balls to roll back onto the putting surface. Missing to the right is recommended.
-
Hole 16, Par 4
The sixteenth hole is a medium length par four and has a couple of options. Players may use a driver and carry the creek that crosses the fairway or choose to lay up short. A carry of approximately 230 yards from the white tee and 245 from the back tee will leave no more than a short iron approach of 100 yards and less. Lay up shots will require a distance of approximately 190-200 yards to stay short of the creek. From there, a steep uphill approach shot is to a green protected by bunkers on both sides. Higher club selection is recommended to reach the proper level.
-
Hole 17, Par 4
Players can be aggressive on this short par four. A fairway bunker is located approximately 230 yards from the teeing area which can be carried by some players. Others can play to the right of the bunker as the fairway slopes to the left. A short iron or pitch shot will be to a fairly flat green guarded by two bunkers.
-
Hole 18, Par 5
Village Greens finishing hole is a long double dogleg par 5 which requires patience and planning. Players will tee off through a “shoot” of large trees to the top of the fairway. A tee shot of 225-230 yards from the white tee and 250-255 yards from the back tees is recommended. The fairway and opening to the right is wider than it may appear from the teeing area. A yardage plate of 137 yards guides players to lay up a second shot toward the 150 post between two ponds guarding the fairway. A golfer who hits a tee shot far enough and slightly to the right may have an option to carry the many pine trees that protects the corner of the dogleg if trying to reach the green in two. The players lie may determine this decision. An uphill third shot from the lay up area will require one more club. The green is guarded by two bunkers and slopes from the left and toward the front; a demanding finishing hole.